The secret ingredient
- From
- Josh W. Comeau
- Reply-To
- me@joshwcomeau.com
- Sent
- September 25, 2025
This issue of my newsletter was sent to newsletter subscribers.
Sign up to receive future issues!
Hey there!
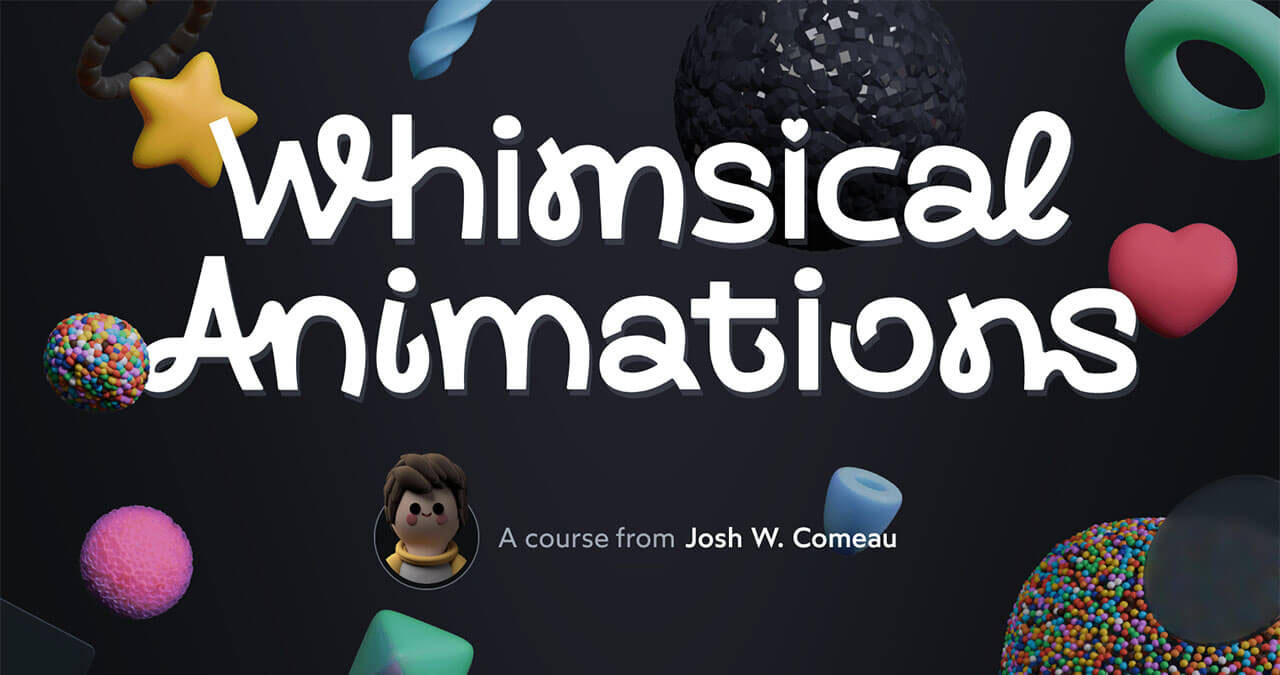
Yesterday, I launched my brand-new animations course, Whimsical Animations(opens in new tab), in early access. Launches are always stressful, but so far everything has run very smoothly, without any major issues. Knock on wood. 😅
Today, I want to do something a bit different. Normally, I send newsletter issues when I have a new blog post, but today, I have a mini lesson packed into an email. It’s something we cover in the course, one of my favourite lil’ animation tricks.
My goal here is to share a tip that will make your animations feel significantly better in just 5 minutes. 😄
Let’s suppose we’re building the following particle animation:
This effect is alright, but it feels a bit artificial and robotic to me. There’s no variation; every star particle moves exactly the same way, every time the user clicks.
I’ll share the full code later on, but for now, let’s keep things high-level and focus on the design. What can we do to improve this animation?
For starters, let’s make the particle’s end position dynamic:
Before, each particle had a static, hardcoded final position. In this new version, I’m adding a bit of random variation. Instead of a specific X/Y offset, each particle now has a range of possible positions.
We can also improve it by giving each particle a random transition duration. Right now, each particle takes exactly 1000ms to translate and fade, which feels a little too synchronized and unnatural. Instead, let’s pick a random transition duration between 800ms and 1200ms:
Way better, isn’t it?
In fact, let’s take it even further. Right now, we’re animating two properties, transform (for the sliding around) and opacity (for the fading out), using the exact same transition settings. Instead, let’s come up with different dynamic settings for each:
Now we’re cooking! Our particles are starting to feel a lot more organic. 😄
Right now, each star stays perfectly upright as it moves, but that’s not really how things work in real life. What if each particle is given a random rotation?
Notice that each star spins as it slides? I picked a random rotation between 90deg and 540deg for each star, so they all spin different amounts.
Finally, instead of each particle being exactly the same size, what if we choose a random size?
The core idea here is to inject small amounts of randomness at every step. This is the secret ingredient, the little detail that has vastly improved my own animations. The more variation there is, the more realistic and alive our animation will feel!
This stuff often works best when it’s subtle. In this email, I’m making pretty big changes because I want the difference to be obvious to you, but in practice, my tweaks would be less noticeable.
Putting it all together, our animation went from this:
…to this:
In my opinion, this trick is one of the lowest-hanging pieces of fruit... and yet, nobody’s doing it. Almost all of the animations I see online are completely static, without any dynamic variation at all.
I think a big part of the problem is that animations are often created by motion designers, and motion designers think in terms of timelines and keyframes. Many of the tools that exist, like Lottie, work on the premise of "baking in" a bunch of individual sequences, and playing it like a movie every time.
Instead, I like to create procedural animations. Instead of scrubbing through a timeline, I come up with dynamic values on the fly, using randomness and user input and math to control what happens next.
So, the next time you’re creating an animation, experiment with randomness! This concept isn’t just for particle effects, we can apply it to anything! ✨
In Whimsical Animations, we cover all of this stuff in depth, starting from the basics. You’ll learn how to do all of this in code, with ample opportunities to practice and experiment. 😄
Registration is currently open, but only for a few days! The signup window is closing so that I can focus on supporting the folks who register and finishing the course. And when registration reopens sometime next year, it’ll be at a significantly higher price.
You can learn more here:
If you’d like to see the final code for the magic wand effect, you can check it out here(opens in new tab).
But please note, this effect is pretty advanced. We spend a bunch of time in the course going over each concept incrementally, building up to effects like this. So, if you struggle to make sense of this code, please don’t feel like this course is too advanced for you!!
As always, you can reply to this email with any questions. I hope your week is going well! ❤️
This issue of my newsletter was sent to newsletter subscribers.
Sign up to receive future issues!
Interactive Courses
© 2018-present Joshua Comeau. All Rights Reserved.