If you've been thinking about creating a dev blog for yourself, you've probably been a bit overwhelmed by the number of tools and technologies. We live in an era of abundance, and there are a lot of options.
When I was building this blog, my biggest priority was to find a solution that would let me embed totally custom content in each post, like this exploding-logo animation thing. When using markdown or a rich-text editor in a CMS, it's not at all clear how to do this: you're generally limited to the handful of HTML elements that these tools can render to.
In this article, I'm going to break down how my blog works, so that you can build something similar for yourself. I'll also cover all the most-commonly-asked questions I've gotten over the years. It's not a tutorial, but it should give you a broad roadmap to follow.
Link to this headingThe stack
This blog is a Next.js(opens in new tab) application.
With Next, you have a few different options when it comes to page rendering: you can choose to do it “on-demand” (server-side rendering) or ahead of time (static site generation). I've opted to build all the blog posts ahead of time, when the site is generated.
I also use Next's API Routes(opens in new tab) for things that require persistence in the backend. I use MongoDB(opens in new tab) as my database, to store stuff like the # of likes each post has.
I deploy this blog on Vercel(opens in new tab). I initially chose them because they're the company behind Next.js, and I figured it would be well-optimized. Honestly, their platform is awesome. I wound up moving some of my non-Next projects there as well.
When it comes to the styling, I use styled-components(opens in new tab), and write all the styles from scratch. I don't use any "cosmetic" libraries like Bootstrap (and I don't think you should either(opens in new tab)). I do use Reach UI(opens in new tab) for things like modals, though.
For animation, I mainly rely on React Spring(opens in new tab), though I've started dabbling with Framer Motion(opens in new tab) recently.
But the most critical part of my stack is MDX(opens in new tab).
Link to this headingMDX, The secret ingredient
MDX is an extension of Markdown that allows you to import and use custom React components.
Even if you've never written Markdown, you've probably seen it before. It's a widely-used format — all those README.md files that are shown on Github repositories are Markdown!
Here's what Markdown looks like:
Hello there! This is a paragraph.

This is another paragraph, with some **bold text**.

Here's a list of things:

1. Apple
2. Banana
3. Carrot
When using Markdown in a web application, there's a "compile" step; the Markdown needs to be transformed into HTML, so that it can be understood by the browser. Those asterisks get turned into a <strong> tag, the list gets turned into a <ul>, and each paragraph gets a <p> tag.
This is great, but it means we're limited to a handful of HTML elements that Markdown is aware of.
MDX takes the format a step further, and allows us to include our own elements, in the form of React components:
import PieChart from '../components/PieChart';

This paragraph introduces a **data visualization**:

<PieChart
  title="Favourite foods"
  data={[
    { label: 'Pizza', value: '30%' },
    { label: 'Broccoli', value: '5%' },
    { label: 'Haagen-Dasz', value: '65%' },
  ]}
/>
We can create our own rich set of primitives, and use them in our content. On this blog, for example, I'm not limited to italic and bold text; I also have spicy text and .
We can also create custom one-off widgets. In “A Friendly Introduction to Spring Physics”(opens in new tab), an article all about motion and animation, I wanted readers to be able to play and experiment with the physics. So I created a bespoke React component, SpringMechanism:
(Drag and release the weight! Alternatively, you can also focus it and press "Space".)
When it came to explaining technical elements, like the effects of tension or mass on the physics, I added props to this component, to change how it behaves. This side-by-side demo shows how mass affects the animation:
This is so much more powerful than describing the physics in words, or showing the effects with a video. By giving the reader control, we flip from passive learning to active learning.
If you're a React developer, hopefully this is giving you a ton of ideas. Literally anything you do in a React app can now be embedded anywhere inside your blog posts!
You might be wondering: why not create a "regular" React application, and render each post as its own route? Why bother with MDX at all?
When I first started my blog, this is exactly what I did. It worked OK, but MDX is better for two reasons:
- The authoring experience is so much nicer. I don't need to wrap each paragraph in a
<p>tag. I can use asterisks and underscores for strong/em tags. It's delightful. - Even more importantly, Markdown is data. I can extract metadata from each post, so that I can show a filtered, sorted list of posts on the homepage, or all the posts about CSS on the CSS category page. I wouldn't be able to do this as easily if each post was its own React component.
In my mind, MDX is the perfect sweet spot between “all-code” (a standard React application) and “all-data” (formatted text stored in a CMS).
It's not the only way to accomplish this, but it's the lowest-friction way I've found for developers working on a solo blog.
In the future, I plan on writing an “Intro to MDX” blog post. For now, though, I'll defer to these amazing community resources:
- “The X in MDX”(opens in new tab), an eye-opening talk from Rodrigo Pombo
- MDX v2 Syntax(opens in new tab), a wonderful video lesson by Laurie Barth
Link to this headingUsing MDX with Next.js
As I write this, there are four (4) different popular ways to use MDX with Next.js 😅
There's:
- The official way, with @next/mdx(opens in new tab)
- Hashicorp's next-mdx-enhanced(opens in new tab)
- Hashicorp's next-mdx-remote(opens in new tab)
- Kent C Dodds' mdx-bundler(opens in new tab)
On this blog and my course platform, I use next-mdx-remote.
Overall, I'm very happy with it, but the biggest drawback is that you can't import one-off components inside MDX files. Every bespoke component you create must be packed together inside one monolithic MDX bundle. In order to avoid an enormous bundle filesize, I need to make heavy use of lazy-loading, which adds an annoying bit of friction to the developer experience.
Link to this headingMetadata
In addition to the content itself, we need a way to store "metadata" — stuff like the title, the abstract, the publication date.
On my blog, I use frontmatter. Frontmatter is a Markdown addon that lets us define key-value pairs at the top of the document.
Here's what this post looks like:
---
title: How I Built My Blog
seoTitle: How I Built my Blog using MDX, Next.js, and React
abstract: An in-depth look at the technical structure for my blog.
isPublished: true
publishedOn: 2021-04-20T09:15:00-0400
layout: Article
---

(Actual blog post content here!)
The mechanism for defining and accessing metadata will vary depending on your MDX tool. In my case, layout refers to the React page component that will be used (Article). When this post is rendered, the Article component will be passed two props: frontMatter and children:
function ArticleLayout({ frontMatter, children }) {
  return (
    <>
      <h1>{frontMatter.title}</h1>
      {children}
    </>
  );
}
In this example, I'll wind up with an h1 that reads “How I Built my Blog”, followed by the article content.
Link to this headingIndex pages
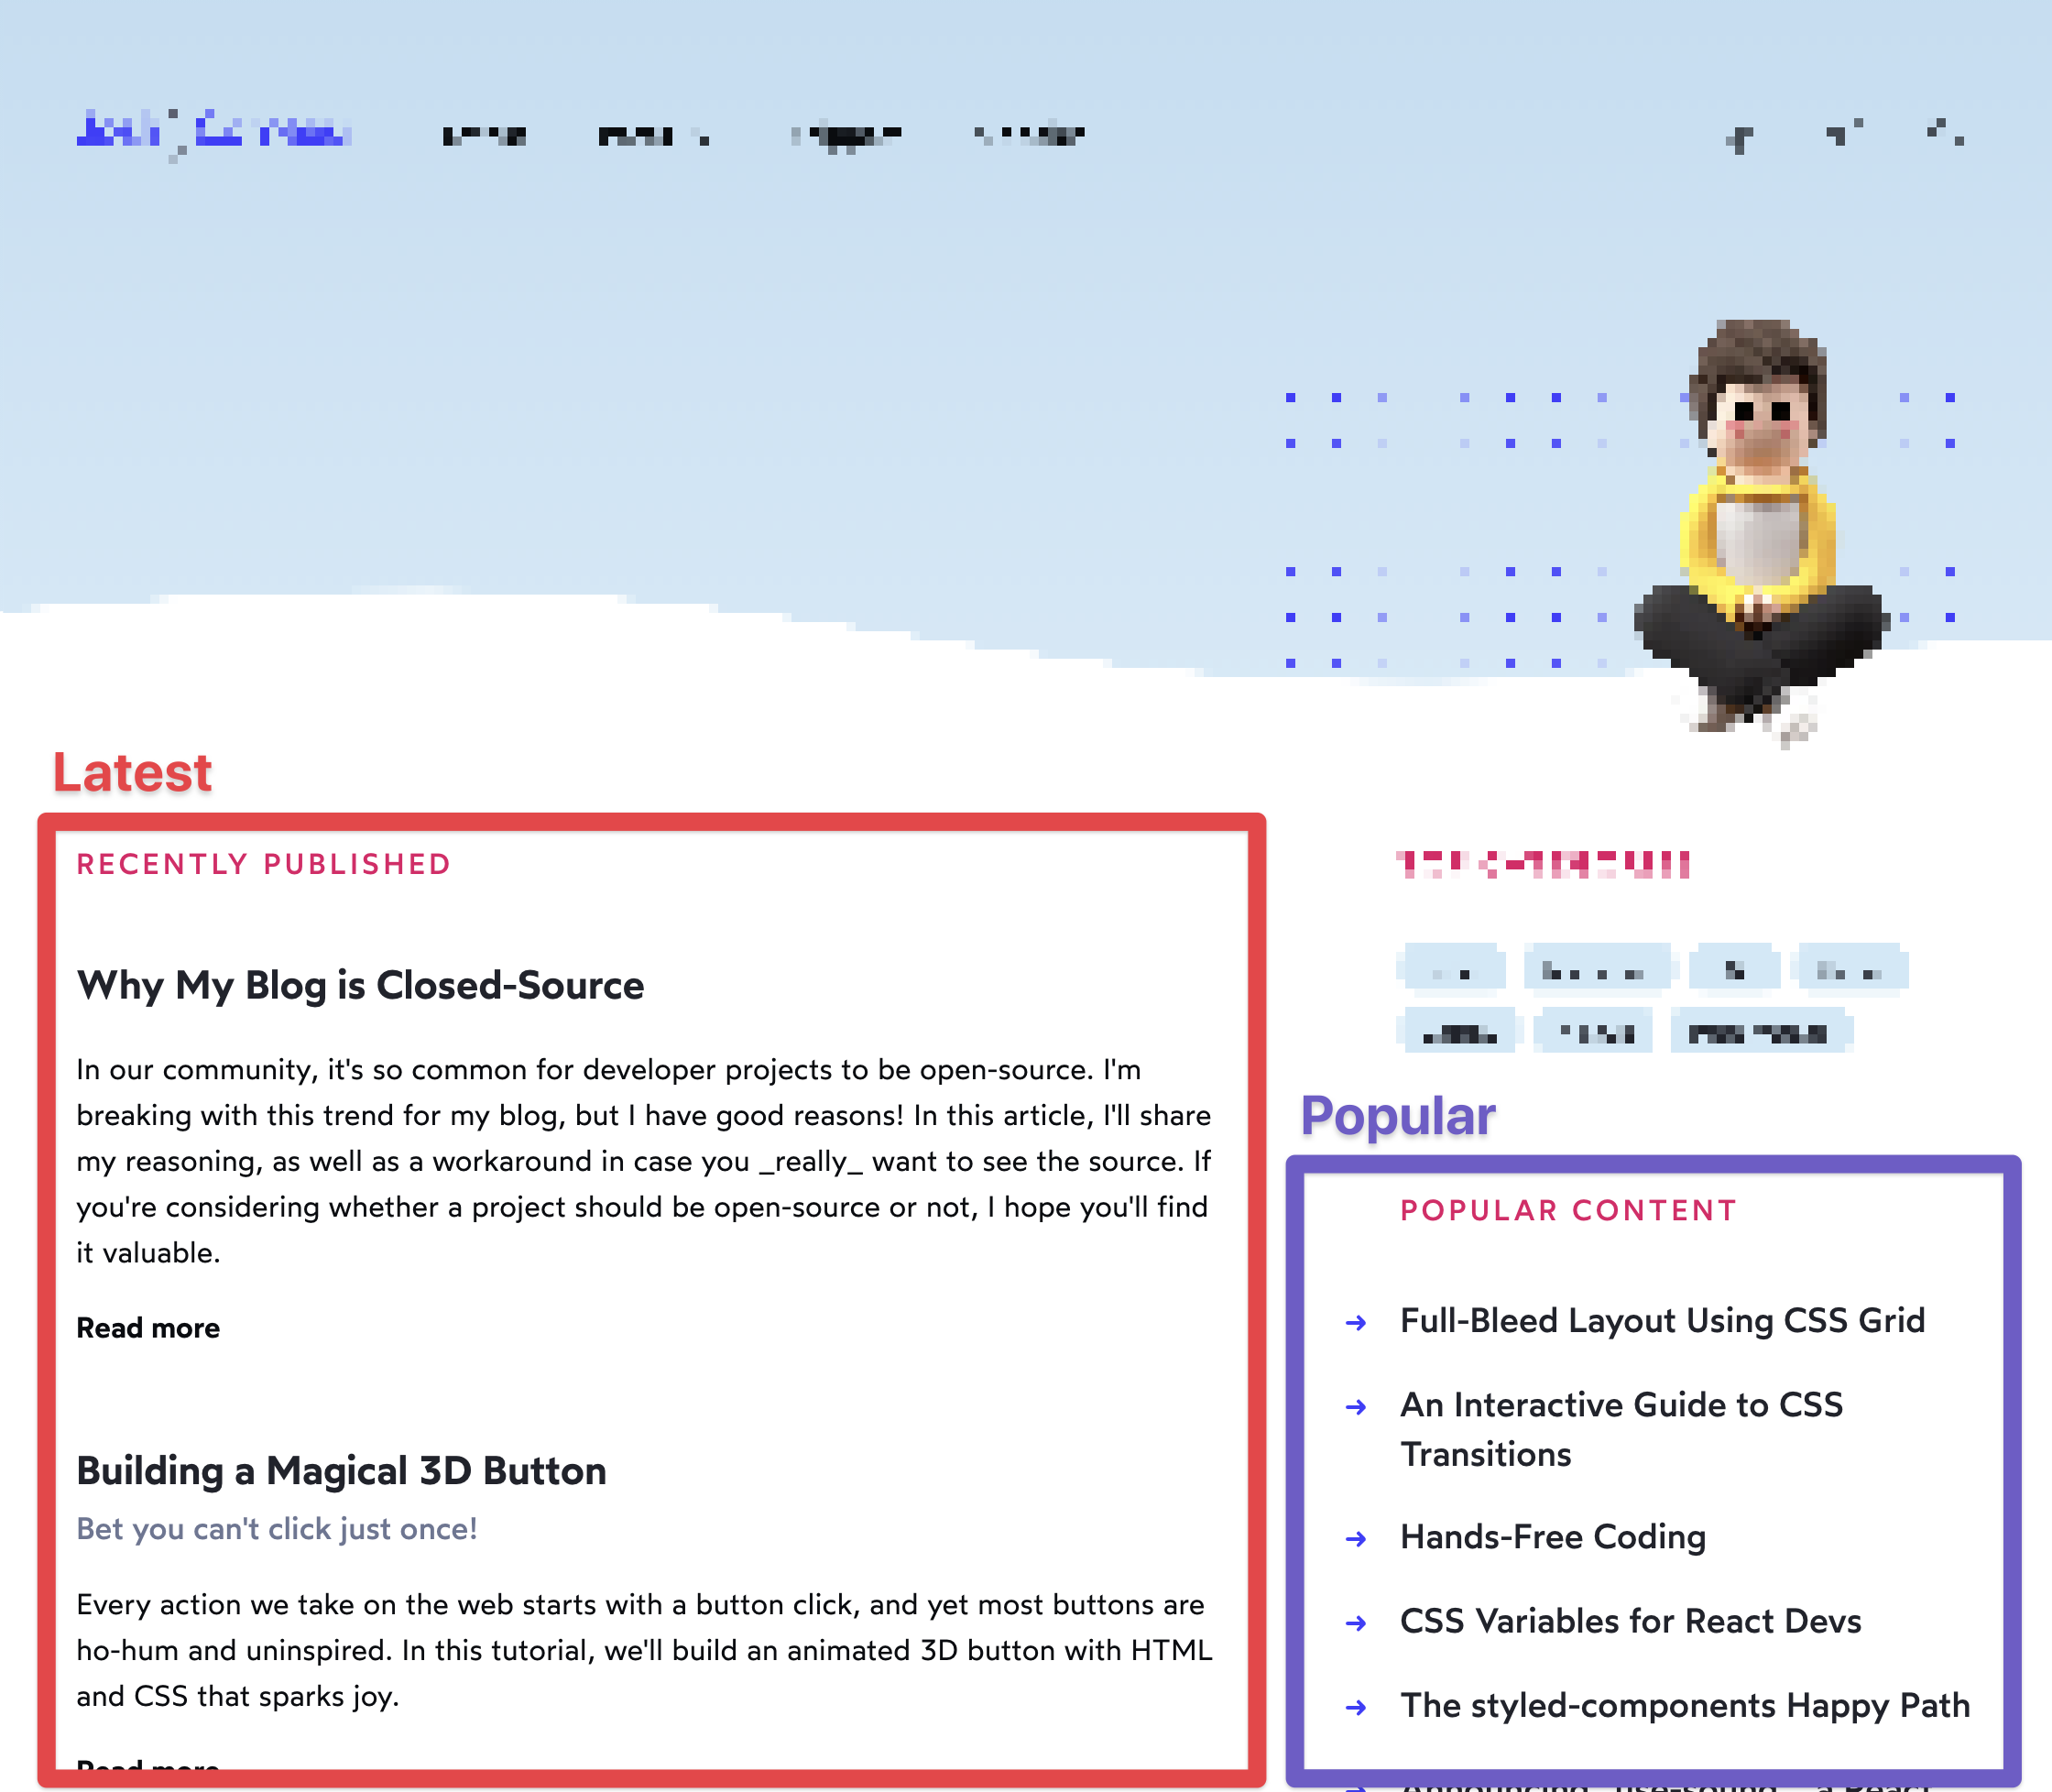
On the homepage of this blog, I have two separate lists of posts:
- The 20 latest posts, in chronological order
- The 10 most-viewed posts of all time
Using the method getStaticProps, Next allows us to do some work when the site is built, before it gets deployed. I calculate the lists of posts to be displayed in these sections during that time.
Here's what that looks like:
// pages/index.js
function Homepage({ newestContent, popularContent }) {
  // Both props are arrays of objects, with post metadata.
  // I can map through them, and render a React component
  // for each one.
}

export async function getStaticProps() {
  // This code runs at compile-time!
  // The stuff I return will be passed as props to
  // my Homepage component.
  const newestContent = await getLatestContent({ limit: 20 });
  const popularContent = await getPopularContent({ limit: 10 });

  return {
    props: { newestContent, popularContent },
  };
}
getLatestContent is a method that traverses the local filesystem to find all of the .mdx blog posts. The logic looks something like this:
- Collect all of the MDX files in the
pagesdirectory, usingfs.readdirSync. - Load the frontmatter (I use an NPM package for this, gray-matter(opens in new tab)).
- Filter out any unpublished posts (ones where
isPublishedis not set totrue). - Sort all of the blog posts by
publishedOn, and slice out everything after the specifiedlimit. - Return the data.
This feels surprisingly low-level, especially when coming from Gatsby (where all this data was available magically through GraphQL). Ultimately, though, I kinda like it. It's definitely more work, but it gives me a ton of control.
This control comes in handy when it comes to the other method listed here, getPopularContent. It's very similar to getLatestContent, but it makes a database request (I rely on the hit-counter data stored in MongoDB to determine popularity).
Link to this headingBackend Stuff
This blog is mostly a static site, but there are some data-driven aspects. For example, each article comes with a 90s-inspired hit counter!
I store the number of hits in a database (I use MongoDB, but any database will do), and increment the number by 1 on every page load. I do this using Next.js Route Handlers(opens in new tab).
I use a similar mechanism for the "Like" counter, the cute heart-shaped button that lets readers inflate my ego.
Each user is allowed to “like” each post up to 16 times. Initially, I tracked this in localStorage, but one of my favourite people in the dev community showed me why this is a bad idea by adding almost 40k fake likes to a post.
Fortunately, Vercel includes the user's IP address in the request headers. When a user clicks the heart, I hash their IP address (to protect privacy) and check to make sure they haven't already hit the limit.
In my database, I have a big map for each post, tracking likes by user:
{
  "slug": "how-i-built-my-blog",
  "likesByUser": {
    "abc123": 16,
    "def456": 4,
    "ghi789": 16
  }
}
It's hard to overstate how powerful Route Handlers are. This blog is a static site with relatively modest backend needs, but I'm using the same stack on my course platform, a full-fledged dynamic web application, with user authentication and roles and transactional email and all sorts of stuff. It holds up super well.
Link to this headingBuild helpers
As I've mentioned, I migrated my site from Gatsby to Next.js. I did this primarily because I was sick of context-switching: I built a course platform using Next, and wanted both projects to use the same stack.
Because Next is relatively unopinionated when it comes to app structure and data, there isn't the same rich ecosystem of plugins. Before, I had been generating an RSS feed and a sitemap from a handy-dandy Gatsby plugin. As part of the migration, I had to create my own versions of them.
Both of these tasks are beyond the scope of this article, but I'll share the general idea.
First, I added a folder called build-helpers. It includes a handful of Node scripts that perform specific operations. I run them before I build the Next.js site:
{
  "scripts": {
    "build:rss": "babel-node ./build-helpers/generate-rss-feed.js",
    "build:sitemap": "babel-node ./build-helpers/generate-sitemap.js",
    "build:og-images": "babel-node ./build-helpers/generate-og-images.js",
    "prebuild": "yarn build:og-images && yarn build:sitemap && yarn build:rss",
    "build": "next build"
  }
}
Quick little NPM protip: you can create pre-run scripts by using the pre prefix. When I run npm run build or yarn build, it will automatically run the prebuild script first, if defined. You can also run scripts afterwards with the post prefix.
Taking the RSS feed as an example, the process looks like this:
- Install the
rssdependency: It'll handle the XML formatting for us. - Collect all of the MDX files in the
pagesdirectory, usingfs.readdirSync. - Load the frontmatter, using gray-matter. Pluck out the relevant details (title, abstract).
- Filter out any unpublished posts (ones where
isPublishedis not set totrue). - Add each item to the feed, using the
rssmodule - Save the generated
.xmlfile in./public/rss.xml
By storing it in public, I ensure that Next will copy it over to the static directory, and make it publicly-available. I also added this file to my .gitignore, since it's a generated file.
Link to this headingDesign and assets
A bunch of folks have asked me how I created this little fella:


I wish I could take credit for it, but I didn't create it. I commissioned an artist to do it for me. We created several facial expressions, and two lighting modes (try toggling between light/dark mode using the toggle in the top-right!). Overall cost was around US$500, I believe.
Aside from that, I designed/built everything else you see on this blog. Design doesn't come naturally to me, but I've learned a few tricks over the years:
- When I've worked with designers, I've tried to learn from them. I asked questions like "how did you come up with this layout?" or "Why is this heading this color?". You can build a design intuition by trying to understand the rules and systems behind the designs you implement.
- For years, I never actually came up with anything from scratch. I'd search sites like dribbble(opens in new tab) and find 4-5 "references". I'd take the layout from one, the color scheme from another, the typography and spacing from a third. Learning to skillfully combine existing designs takes some practice, but it's a heck of a lot faster than learning to create compelling designs from scratch.In hushed tones, professional designers have candidly admitted to me that this is a HUGE part of their toolkit as well. Great artists steal.
- There's a bit of a curse when it comes to design: if you spend 4 hours building something, you lose all objective perception. It's impossible to tell if it's good or not. For this reason, I always step away from a project for a day or two after I have a rough design in place. When I come back, I'll be able to tell if it's good or not.
My goal isn't to become a world-class designer — that would be the work of a lifetime, and an entirely separate career! But by putting in a bit of work and taking a few shortcuts, I've become competent enough at design to feel good about the things I build.
A lot of developers believe that you need to have some intrinsic artistic talent to become good at design, and I know that it's not true, because I'm a terrible artist 😅 If you're interested in becoming a better designer, be sure to join my newsletter(opens in new tab)—I'll be going much deeper into this stuff in the future.
Link to this headingCode snippets
No developer blog is complete without syntax-highlighted code snippets. I have a couple different options for that on this blog.
Many Markdown processors allows us to create code samples with triple backticks (```). We can specify the language for syntax highlighting as well (```css).
With MDX, I map that syntax to a specific component, StaticCodeSnippet. It produces blocks like this:
.wrapper {
  width: 800px;
  padding: 32px;
}
Sometimes, though, I want the code to be "live-editable", and to showcase the result of that code. This is useful when I want to encourage the reader to experiment with the code, to learn how it works.
In those situations, I have a different component, <Playground>. It looks like this:
Code Playground
HTML
CSS
Result
To build this component, I forked agneym's Playground(opens in new tab). It's a fantastic little utility. I did make some pretty substantial tweaks, mostly to the cosmetics and usability (the underlying rendering logic is mostly unchanged).
Here's what it looks like in the MDX:
<Playground
  html={`
<div class="wrapper">
  <h2>Hello World</h2>
</div>
  `}
  css={`
.wrapper {
  display: flex;
  justify-content: center;
}
\n\
body {
  height: 100vh;
  background: silver;
}
  `}
/>
This isn't the best authoring experience: there's no syntax highlighting, and the indentation is funky. I often wind up writing the code in the playground itself, and then copying it over to the source.
One gotcha is that MDX doesn't like having blank lines in the middle of React elements. In the snippet above, I want a blank line between the two CSS rules. If I leave an actual blank line, MDX explodes with a hard-to-decipher error message. We can add an explicit newline with \n. Unfortunately, this creates two blank lines, since the explicit \n is immediately followed by an actual linebreak. So I escape the linebreak with \n\.
Let's talk about some of the other less-than-ideal elements.
Link to this headingDownsides
So here's a mistake I'm embarrassed to admit I've made more than once: sometimes, my "brand new" posts will have a "last updated" date from several months/years ago.
Here's why this happens: every blog post has a publishedOn date in the frontmatter, and optionally an updatedOn date as well. When I start writing a new post, I copy/paste some random old post to give me the frontmatter structure. If I don't explicitly remember to update the date when I publish the post (or whenever I update it), the wrong date is shown.
In an ideal world, updatedOn could be derived automatically, based on when the file was last modified. Operating systems can track when the file was last updated, so I ought to be able to nab that information from the OS when building the site.
Sadly, this doesn't work: my site isn't built on my local machine, it's built on Vercel's servers. They do a fresh clone of the files every time, so all of the files are brand-new according to the filesystem.
After publishing this post, Adam Collier shared how he solved this problem(opens in new tab), by editing the .mdx file at commit-time with lint-staged. I've implemented this in my own blog, and can confirm it works great. 😄
Link to this headingQuestions and Answers
Before writing this post, I asked on social media if there was anything people were particularly curious about.
Unfortunately, there's no way for me to answer all of the responses I got 😅 Some of the questions were broad enough that I'd have to write an entire series of posts to be able to answer them!
But I can go through some of the most common questions.
Link to this headingHow do you organize your components?
Inside my src/components folder, there are about 150 components. These are the general "app-wide" components, stuff like Logo and RainbowButton and Boop.
Each component gets its own directory:
components/
├─ Boop/
│  ├─ index.js
│  ├─ Boop.js
│  ├─ useBoop.js
├─ Logo/
│  ├─ index.js
│  ├─ Logo.js
│  ├─ Logo.helpers.js
│  ├─ logo.svg
I really like this pattern because it keeps the src/components directory relatively clear, while letting me create as many per-component files as I need. I share more about this pattern in a separate post, Delightful File/Directory Structure in React.
I also have an src/post-helpers folder. Here I store all of the "one-off" components for specific posts, stuff like the SpringMechanism component we saw earlier. Ideally, I would colocate these components with their blog posts, but Next is pretty strict about what it allows in the pages directory (and next-mdx-enhanced requires you to keep your posts there).
Link to this headingWhat's your testing strategy?
I don't really have one 😅 Because this is a static site, there aren't many "critical flows".
I use Playwright on my course platform, though, and I'm quite happy with it!
Link to this headingHow do you come up with article ideas?
As it happens, I wrote a fair amount about this in my newsletter recently! You can read the issue in the archive.
Link to this headingWhat are you using for embedded tweets?
Heh, so, I used to use the standard Twitter SDK. I found that it was slowing my whole site down, though.
I created a component, FakeTweet. That's what I'm using for this:

What would you like this post to include? Any particular elements you're curious about?
2021-04-09
This is a very low-tech solution. I'm hardcoding all of the data. Here's what it looks like in the MDX:
<FakeTweet
  id="1380554683236950016"
  avatarSrc="/avatars/joshwcomeau.jpg"
  handle="JoshWComeau"
  displayName="Josh ✨"
  date="2021-04-09"
  includeMetrics={true}
  numberOfLikes={196}
  numberOfConversations={36}
>
  I'm writing a blog post about how my blog (https://joshwcomeau.com) works!
  <br />
  <br />
  What would you like this post to include? Any particular elements you're curious about?
</FakeTweet>
The problem with this approach is that the data will become stale. People change their display names and user avatars, but my site won't keep up with the times.
Link to this headingGoing deeper
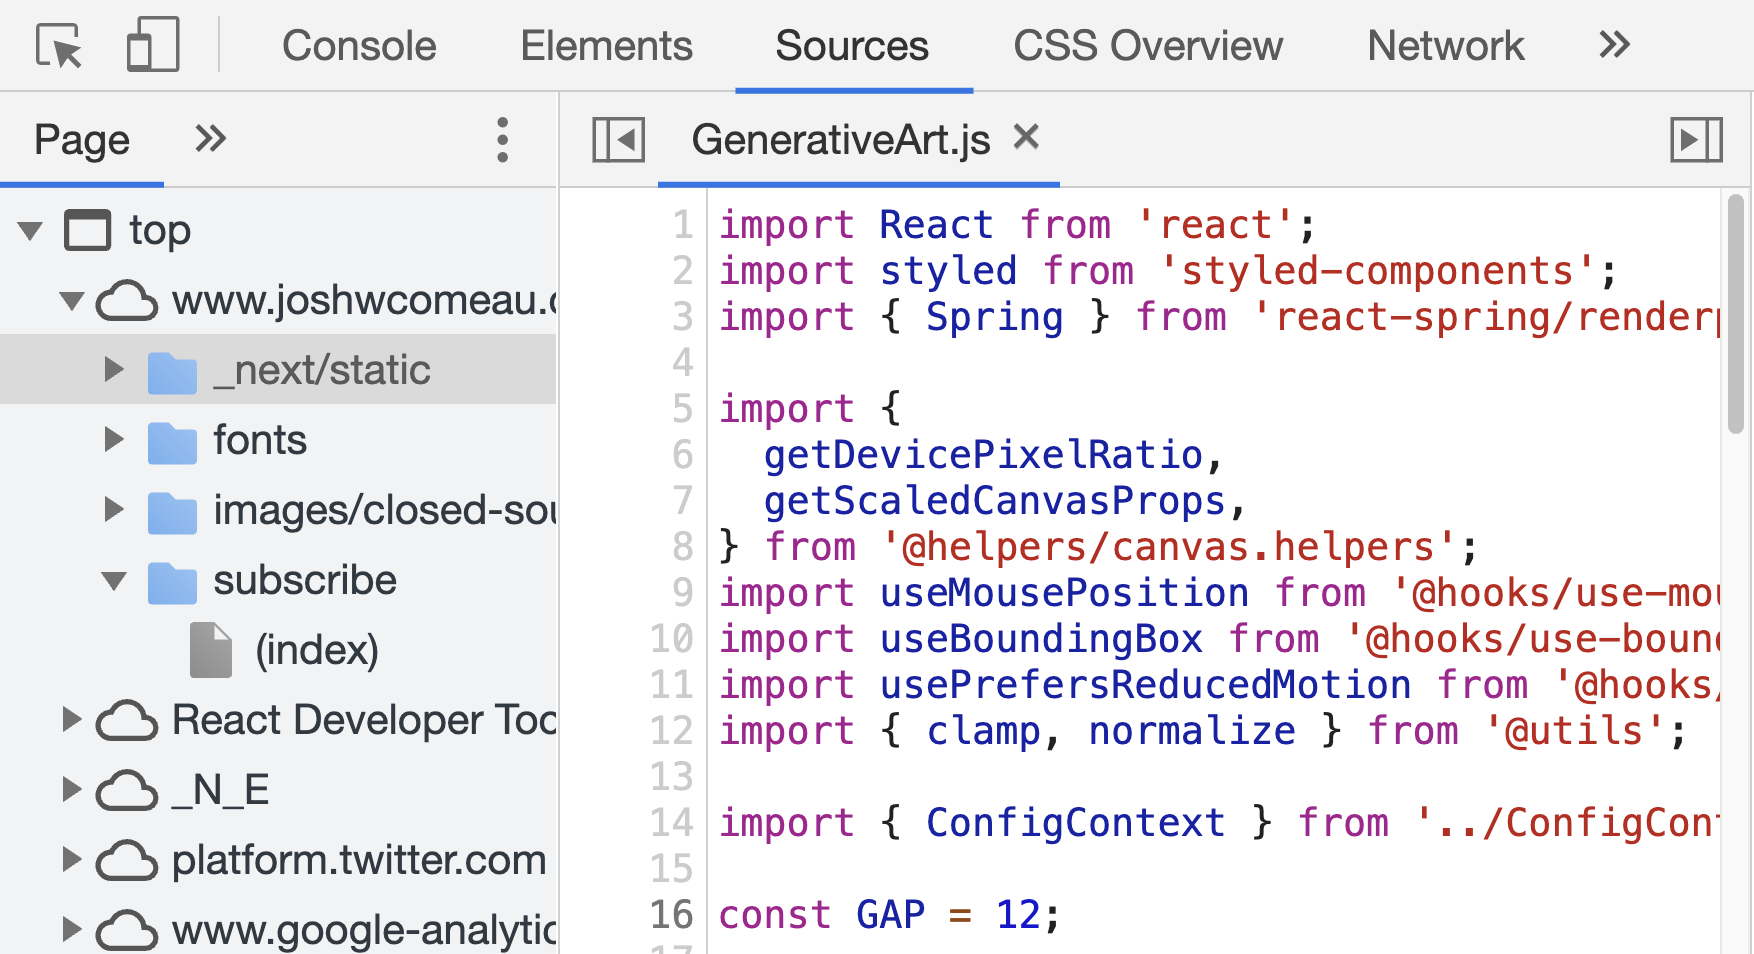
For reasons I've shared previously, this blog is closed-source, so unfortunately, there isn't a link to a Github repo for you to dig deeper. That said, I've enabled sourcemaps, so you can dig through the front-end code in your browser!
I'd encourage you not to get too focused on any particular aspect of this blog, though. Coming up with your own custom elements is one of the best parts of creating your own blog! Your blog is your own personal laboratory and playground: experiment with different ideas and see what you can come up with 😄 you'll have way more fun, and create something way more memorable and compelling.
Last updated on
January 28th, 2025